April Tech Tip – Using Snip & Sketch Features
Using Snip & Sketch Features (for Windows Users Only)
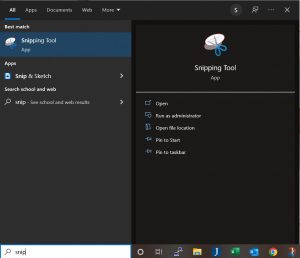
I find Snip & Sketch very useful when building documentation for office procedures. If you don’t already have Snip pinned to your taskbar, go to your Search Area of your laptop/desktop and search “snip” and choose the option “Pin to taskbar.” (See screen below)

This will create an icon in your taskbar that looks like this:
![]()
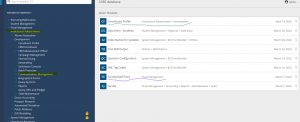
Now you can begin using the Snip & Sketch features. If you were wanting to reference a Jenzabar CX Menu option, you could pull up that menu and then click on the Snip icon.

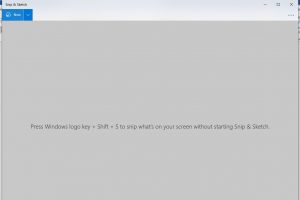
Click on the word “New” in the blue area above. This will turn your screen grey while it waits for you to drag your mouse over the area that you wish to Snip. Once you have Snipped the desired area, you will be presented with a toolbar of options that allow you to highlight or underline areas of particular importance. You will then choose the Copy icon. Then, open a Word document and paste your content into your Word document. Add any additional text needed and save your document.

Posted By: Sylvia Reed - IT Services